¶ Quectel BG96 cellular module
This guide will walk you though integrating a Quectel BG96 cellular module to the IoT Bridge.
![]()
![]()
¶ Pre-requisites
- Account on Tartabit IoT Bridge.
- LWM2M device that supports registration or bootstrap with CoAP over DTLS.
¶ 1. Configure your module
1.1. Follow Quectel's guide to connect to your module's AT terminal.
1.2. Execute the following to perform the initial LWM2M configuration:
AT+QLWM2M="select",0
1.3. Use the QEFS Explorer to access the alternate filesystem.
1.4. Navigate to the datatx/lwm2m folder.
1.5. Copy lwm2m_cfg, carrier_apn_cfg, and bootstrap.ini files to your PC.
1.6. Update the lwm2m_cfg with the correct APN as follows:
...
APN=<your SIM's APN>
...
1.7. Update the carrier_apn_cfg with the correct APN as follows:
APN_NAME=<YOUR APN>
IP_FAMILY=v4
APN_CLASS=2
BS_IF_REG_FAILS=1
SHORT_SERVER_ID1=102
;
1.8. Update the bootstrap.ini with the correct bootstrap information: (the URL for our SaaS is lwm2m-us.tartabit.com)
{"bn":"/0/1/",
    "e":[
        {"n":"0","sv":"coaps://<instance>.tartabit.com:5684"},
        {"n":"1","bv":true},
        {"n":"2","v":0},
        {"n":"10","v":102
        }]}
{"bn":"/1/1/",
... remaining contents unchanged
1.9. Copy the modified files back to your Quectel module.
1.10. Execute the following AT command:
AT+QLWM2M="bsmode",1
AT+QLWM2M="enable",1
1.11. Reboot your quectel module.
1.12. If you connect to the debug port on your EVB, you should see the following:
LWM2M: CLI registered
LWM2M: LWM2M_LOG:Carrier type = 0
LWM2M:
LWM2M: REG EP NAME = 4
LWM2M:
LWM2M: BOOTSTRAP EP NAME = 4
LWM2M:
LWM2M: LWM2M_LOG: bootstrap_name --> urn:imei:<your imei>
LWM2M:
LWM2M: State: STATE_BOOTSTRAPPING
LWM2M: State: STATE_INITIAL
LWM2M: State: STATE_REGISTER_REQUIRED
LWM2M: State: STATE_REGISTERING
LWM2M: State: STATE_READY
¶ 2. Configure the IoT Bridge
2.1. Login to the Tartabit IoT Bridge.
2.2. Navigate to Solution Templates at the bottom of the page.
2.3. Import the Onboard Quectel BG96 device template.
2.4. Enter the IMEI of your module, the PSK and identity will be automatically generated.
2.5. Click Import.
¶ 3. Verify connection
3.1. Cause your device to connect.
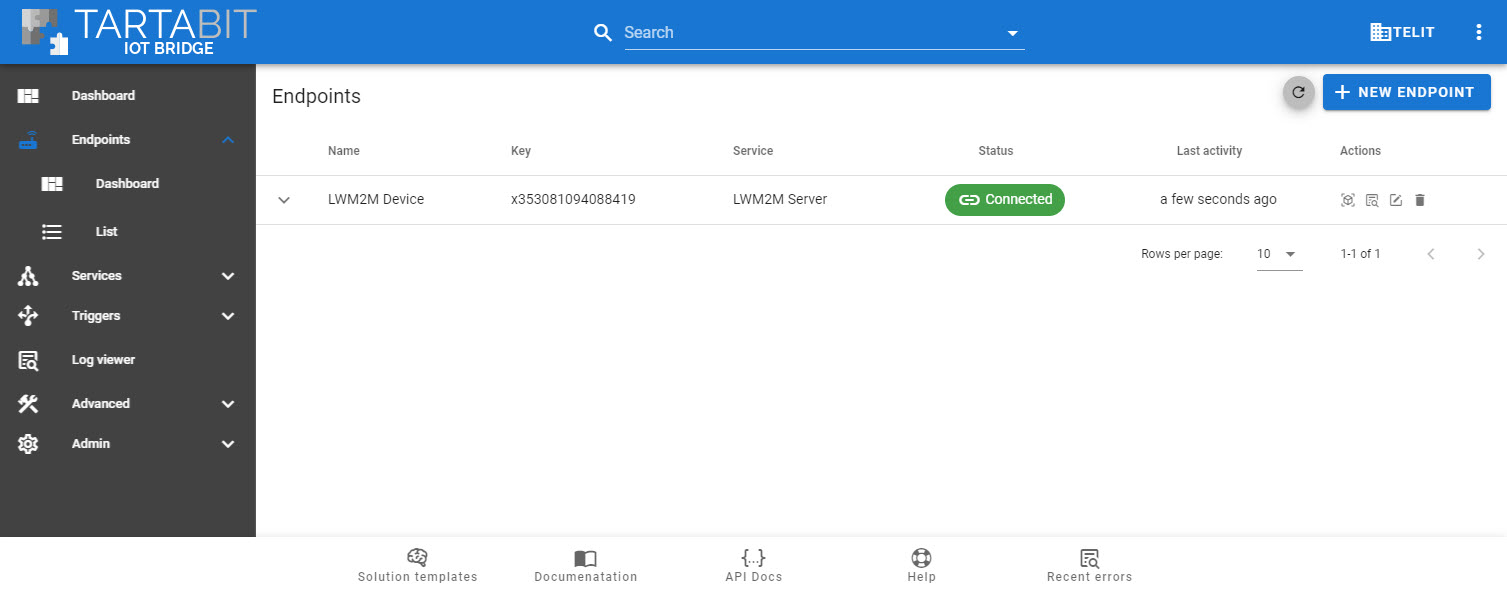
3.2. Verify the IoT Bridge endpoint is connected

3.3. Click the Object Browser icon to verify you can access your device.