¶ Iridium CloudConnect to Azure IoT Hub
This guide will walk you though integrating an Iridium CloudConnect terminal to Azure IoT Hub using an available solution template.
¶ Pre-requisites
- Account on Tartabit IoT Bridge.
- Access to a Microsoft Azure subscription.
- Iridium CloudConnect compatible device.
- Access to Iridium CloudConnect AWS SQS queues.
¶ Details of this guide
- In this guide you will:
- Create a new Azure IoT Hub.
- Retrieve the credentials needed to connect to your Azure IoT Hub.
- Import the solution templates, this will create all of the required triggers, services, and endpoints required to connect your device.
- Connect an Iridium device
- Verify that the device is properly reporting into the Azure IoT Hub.
¶ 1. Preparing Azure IoT Hub
If you do not have an IoT Hub, or need help getting the credentials for your IoT Hub, check out this guide:
¶ 2. Gather the required information from Iridium
Before continuing, you will need to ensure you have the proper information from Iridium, as well as have configured your AWS SQS queues so that you can establish a connection.
- You will need your AWS
Account ID, it can be found in the top-right menu in the AWS Console. - You will need an IAM user with access to the SQS queues, record the
Access Key IDandSecret Access Key. - You will need to know the AWS
regionwhere your SQS queues are deployed. - You will need to know the queue names for the four queues used by CloudConnect.
¶ 3. Import the solution templates
You will need to import two solution templates, one for the N-Link connection, and one for the IoT Hub connection. Follow the steps below to import the solution templates:
-
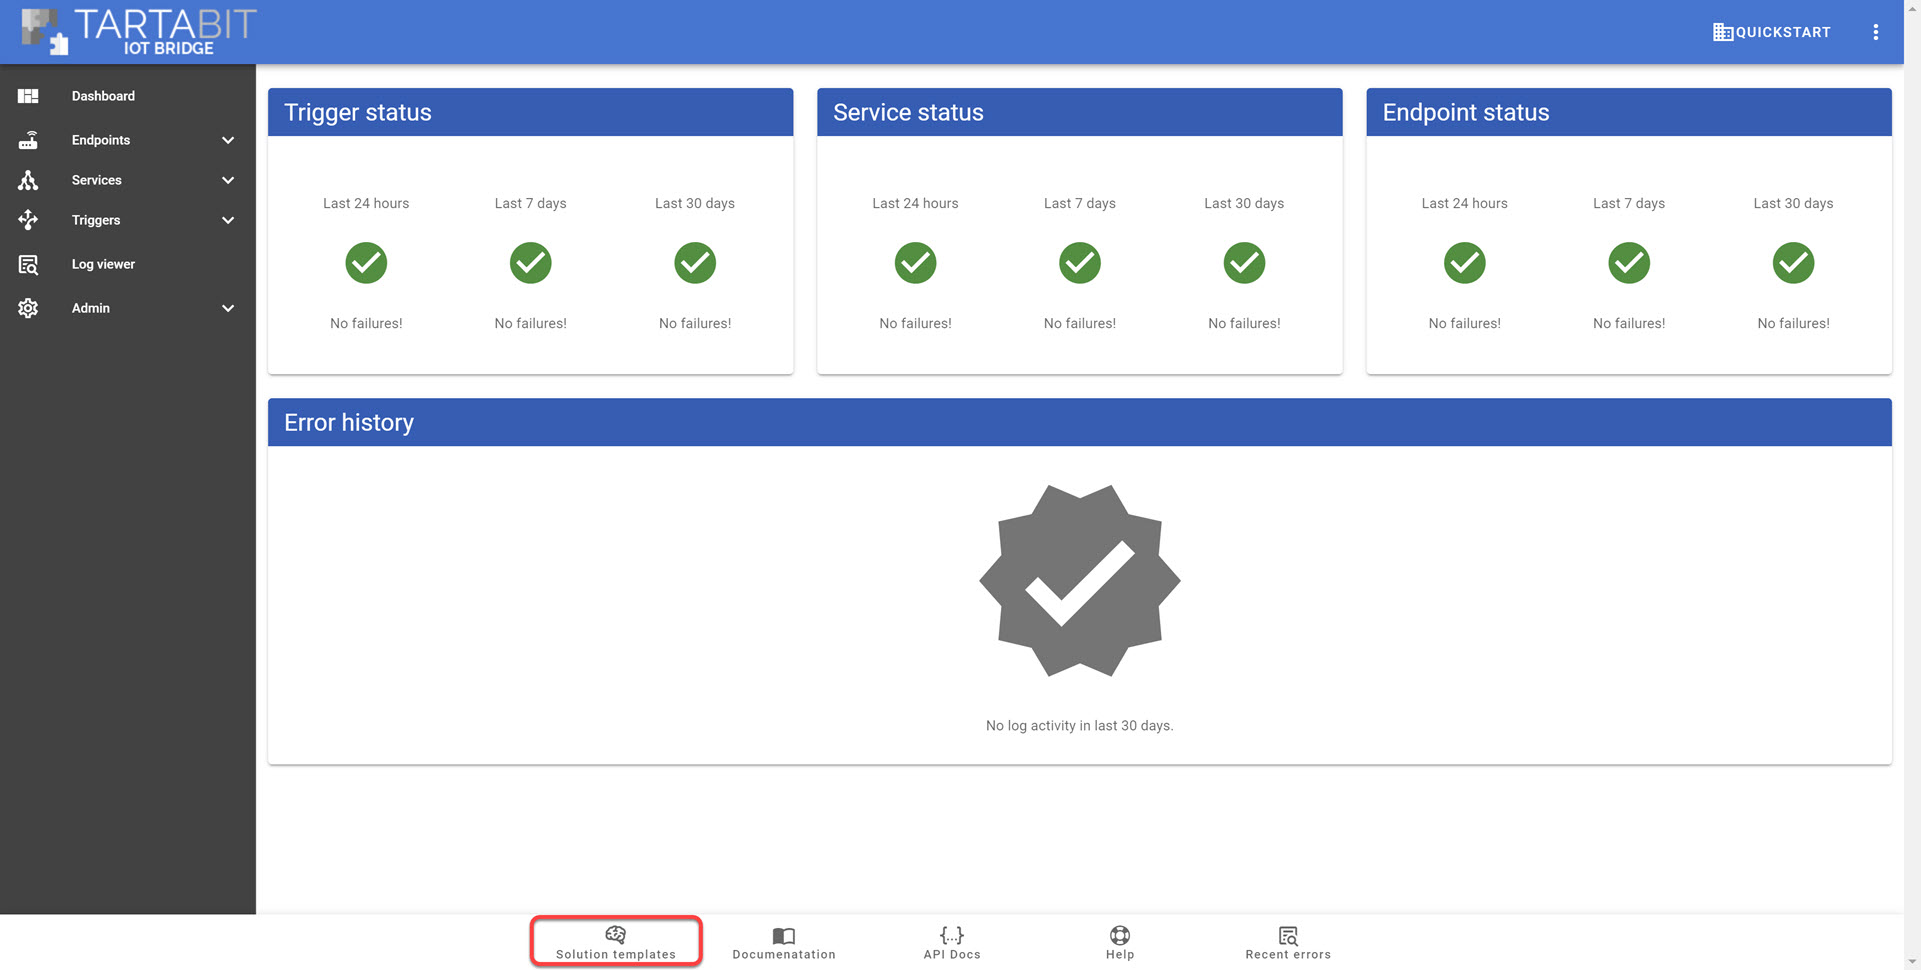
Click Solution Templates at the bottom of any page.
-
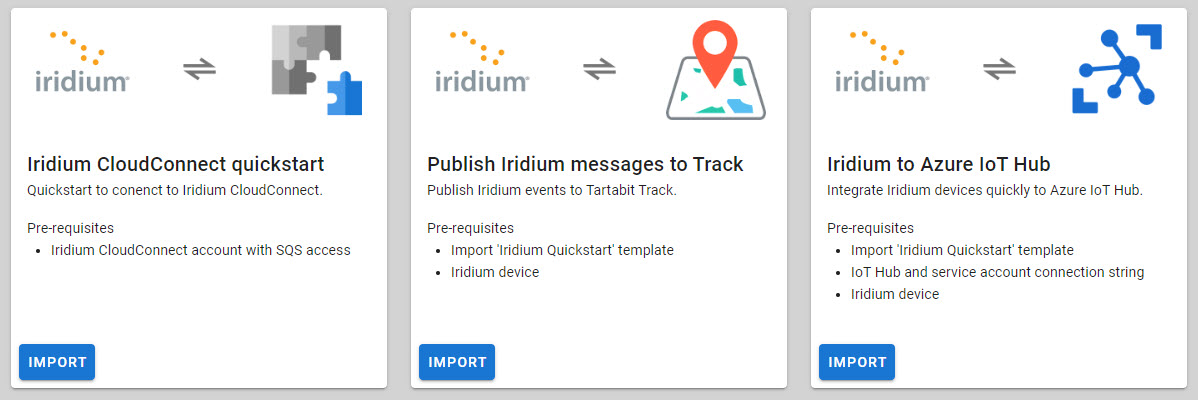
Find the Iridium CloudConnect quickstart template and click Import.
-
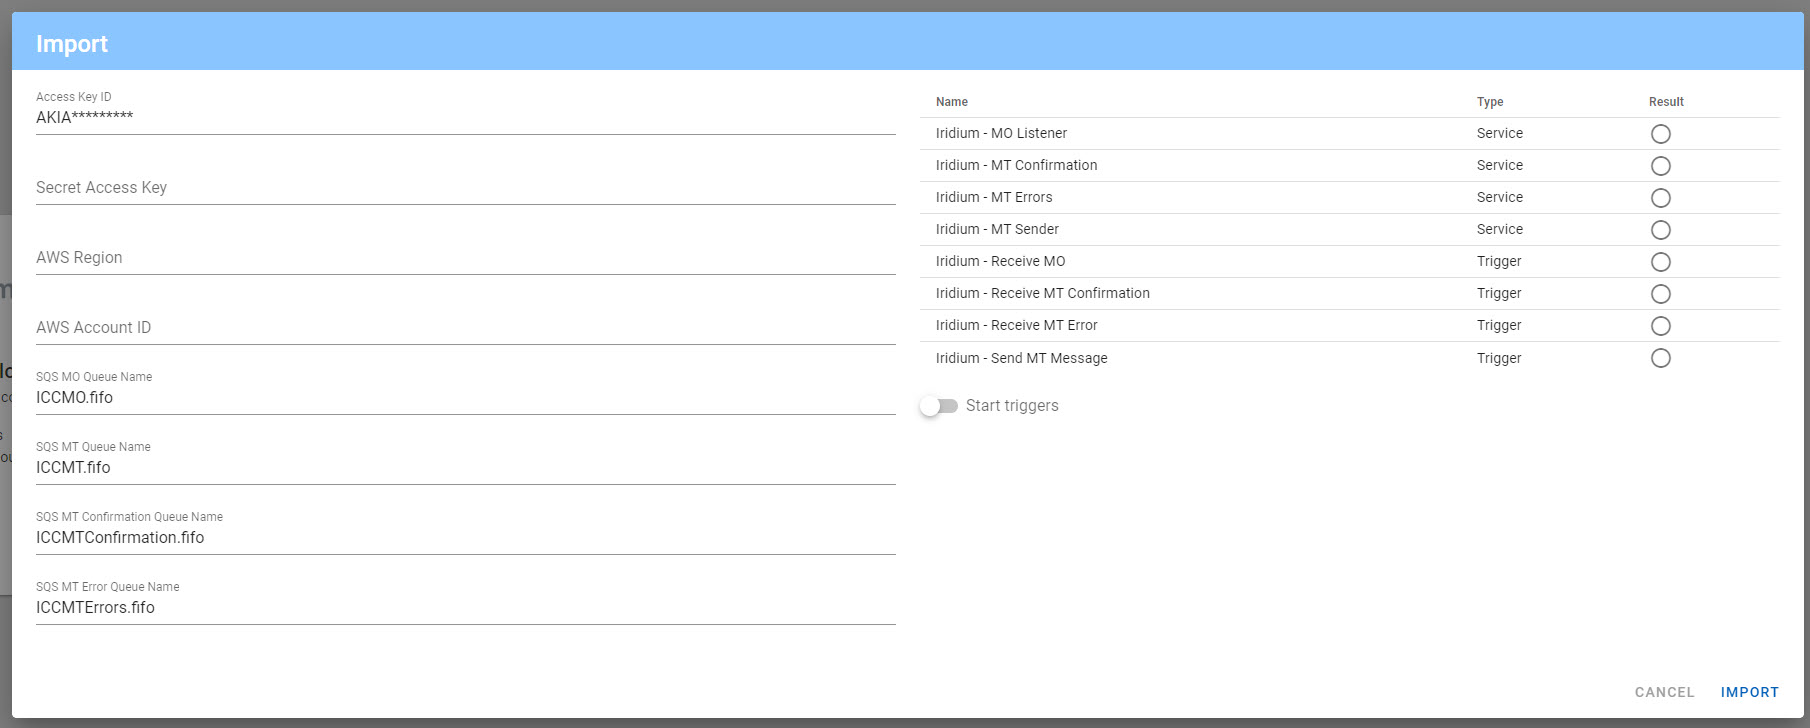
Follow the instructions below to import the template:
- A: Enter your
Access Key IDfrom #2 above. - B: Enter your
Secret Access Keyfrom #2 above. - C: Enter your
AWS Regionfrom #2 above. - D: Enter your
AWS Account IDfrom #2 above. - E: Select the option to Start Triggers this will automatically start all of the new triggers upon import.
- F: Click import when finished.
-
Find the Iridium to Azure IoT Hub template and click Import.

-
Follow the instructions below to import the template:
- A: Enter the Azure IoT Hub connection string that you previously saved in Step #2.
- B: Select the option to Start Triggers this will automatically start all of the new triggers upon import.
- C: Click import when finished.

¶ 5. Verify the import was successful
You should receive an import result like this:
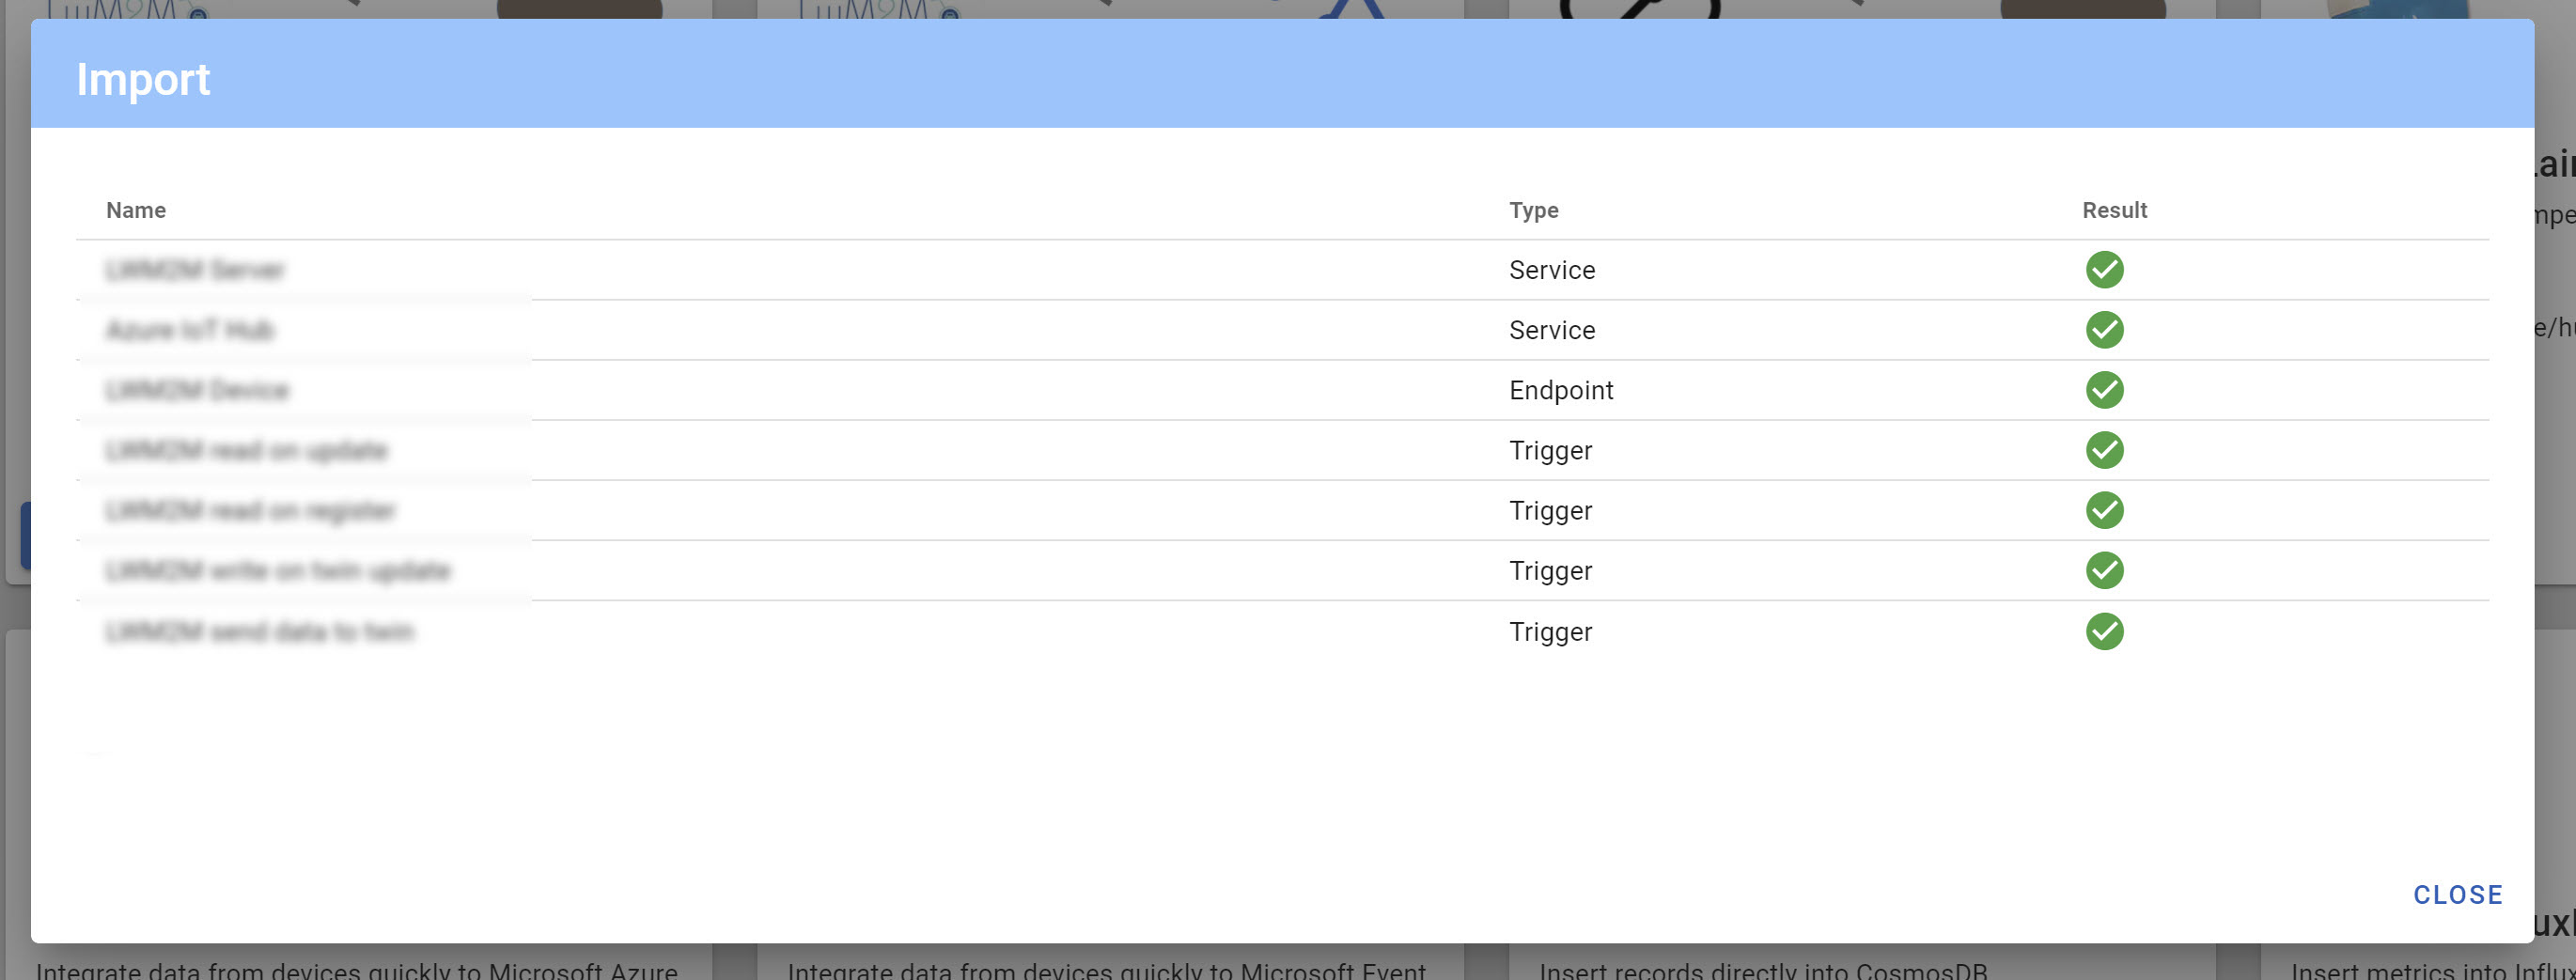
Additionally you should check the services list and ensure that all services are marked Healthy.
¶ 6. Connect & Verify your Iridium device
Now that everything has been imported, you can start receiving data. For detailed instructions on how to use your Iridium terminal, please consult your Iridium product documentation.
¶ Send text from your terminal to Azure IoT Hub
AT+SBDWT=temp,26.2,hum,46
AT+CSQ (repeat until CSQ is >3)
AT+SBDIX
+SBDIX:<MO status>,<MOMSN>,<MT status>,<MTMSN>,<MT length>,<MT queued>
You want to see the MO status of 0 to indicate that the message was successfully sent. At this point you can check the IoT Bridge to ensure there was activity on the MO Listener trigger, and IoT Hub to see data in the device twin.
¶ Send text from IoT Hub
- Navigate to your Iridium device in your IoT Hub.
- Click
Message to Deviceto send a message to your device.
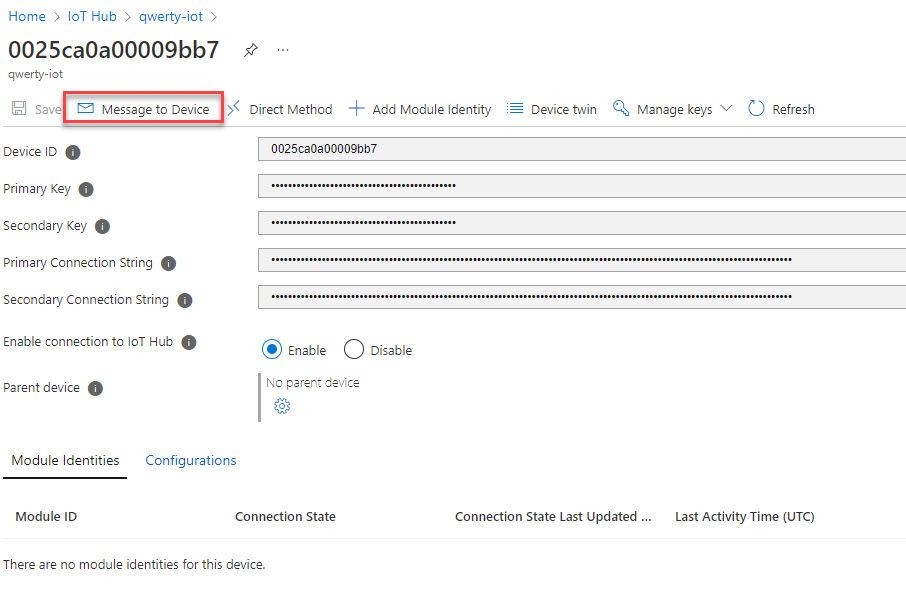
- Type 'Hello Device' and click send.
- Check for the message on the device
AT+CSQ (repeat until CSQ is >3)
AT+SBDIX
AT+SBDRT
- Verify the message was received. It will be hex encoded.