¶ Telit Bravo Development Kit
This guide will walk you through connecting a Telit Bravo development kit to Azure IoT Hub using the available solution template.
![]()
![]()
¶ Pre-requisites
- Account on Tartabit IoT Bridge.
- Telit Bravo Development Kit.
- Telit AT Controller software (TACT).
¶ Useful links
- Telit Bravo documentation: https://www.telit.com/developer-zone/telit-bravo-evaluation-kit/
- Telit sample applications: https://github.com/telit/IoT-AppZone-BravoSamples
¶ 1. Connect to your module
1.1. Install the USB drivers for the Telit Bravo development kit
- The Driver package for the ME910 USB port can be downloaded from:
https://www.telit.com/developer-zone/telit-bravo-evaluation-kit/ selecting “Windows 10 Drivers”
1.2. Install the Telit AT Controller software, the latest version can be downloaded from: https://www.telit.com/developer-zone/telit-bravo-evaluation-kit/ selecting “Telit AT Controller”.
1.3. Install your SIM card of choice.
1.4. Connect the 'x910' micro-USB connection to your PC.

1.5. Press the ON_OFF button for at least 5 seconds.

1.6. If using Windows, disable the modem in the device manager to prevent Windows from controlling the modem. - Open Device Manager
- Navigate to Network Adapters
- Disable any Telit adapters in the list
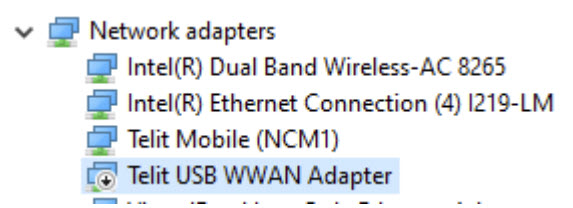
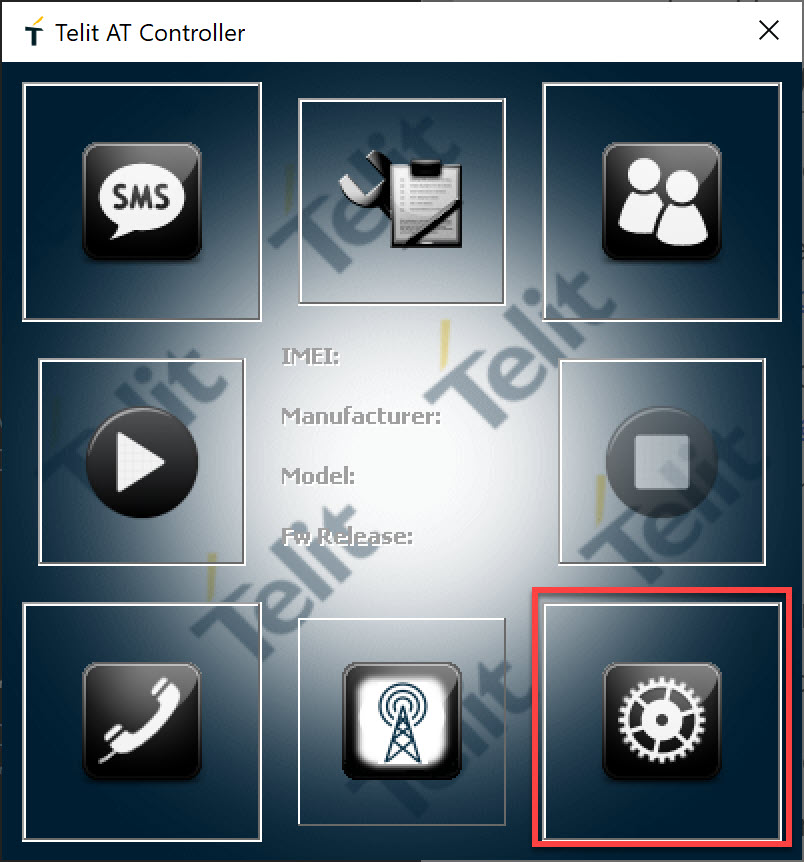
1.7. OpenTelit AT Controller
1.8. Click theSettingsbutton
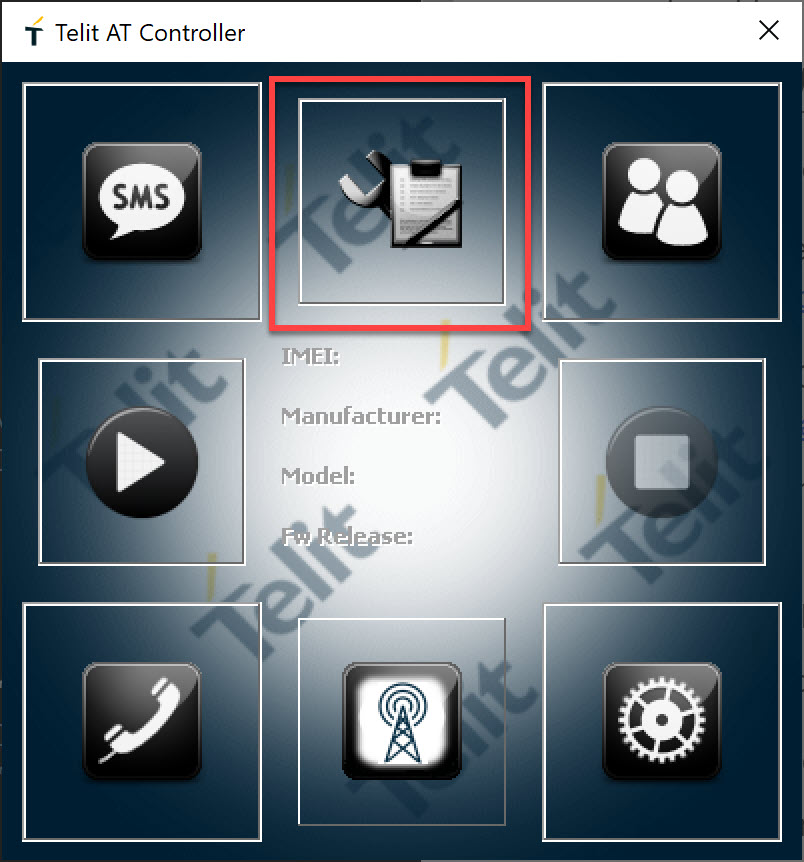
1.9. Select the port associated with theTelit USB Modem.
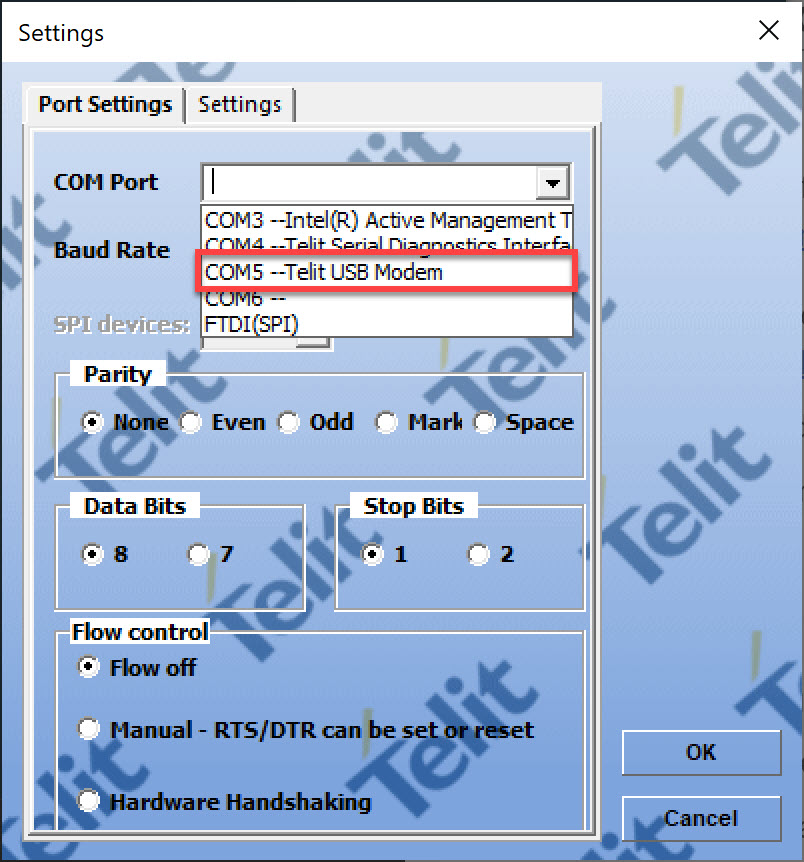
1.10. Click theConnectbutton
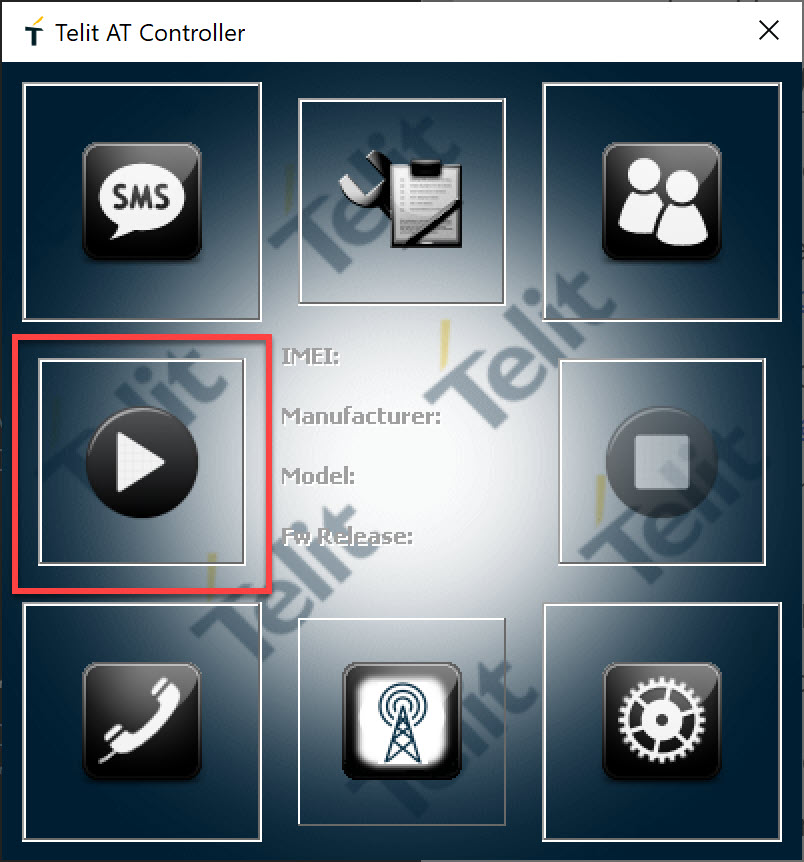
1.11. Click theAT Terminalbutton
¶ 2. Configure your module
2.1. Verify the version of your firmware:
AT#SWPKGV
30.00.809-P0B.800101
M0B.800005
P0B.800101
A0B.800000
Ensure you are running at least version 30.00.809, if you are not, follow Telit's procedures to install new firmware.
2.2. Set your APN (using the settings recommended by your carrier)
AT+CGDCONT=1,"IP","<APN>"
2.3. Verify the module is registered on the cellular network:
AT+COPS?
+COPS: 0,0,"AT&T",8

OK
2.4. Configure the LWM2M connection
- Retrieve your IMEI:
AT+CGSN
353081094088419

OK
- Configure the security credentials: (replace <imei> with the results from the previous step, select the PSK of your choice and enter it in hexidecimal form, save this value for later)
AT#LWM2MINJKEYS=0,1,<imei>,<imei>,<PSK>
- Configure the connection to the IoT Bridge bootstrap server:
AT#LWM2MSTS=0,999,"coaps://lwm2m-us.tartabit.com:5684",1
- Reboot the module
AT#REBOOT
¶ 3. Install the sensor application on the module
Download the following files to configure the sensor application on your module:
- Main application: m2mapz.bin
- Object 26242 definition: object_26242.xml
- Object 26250 definition: object_26250.xml
- Object 26251 definition: object_26251.xml
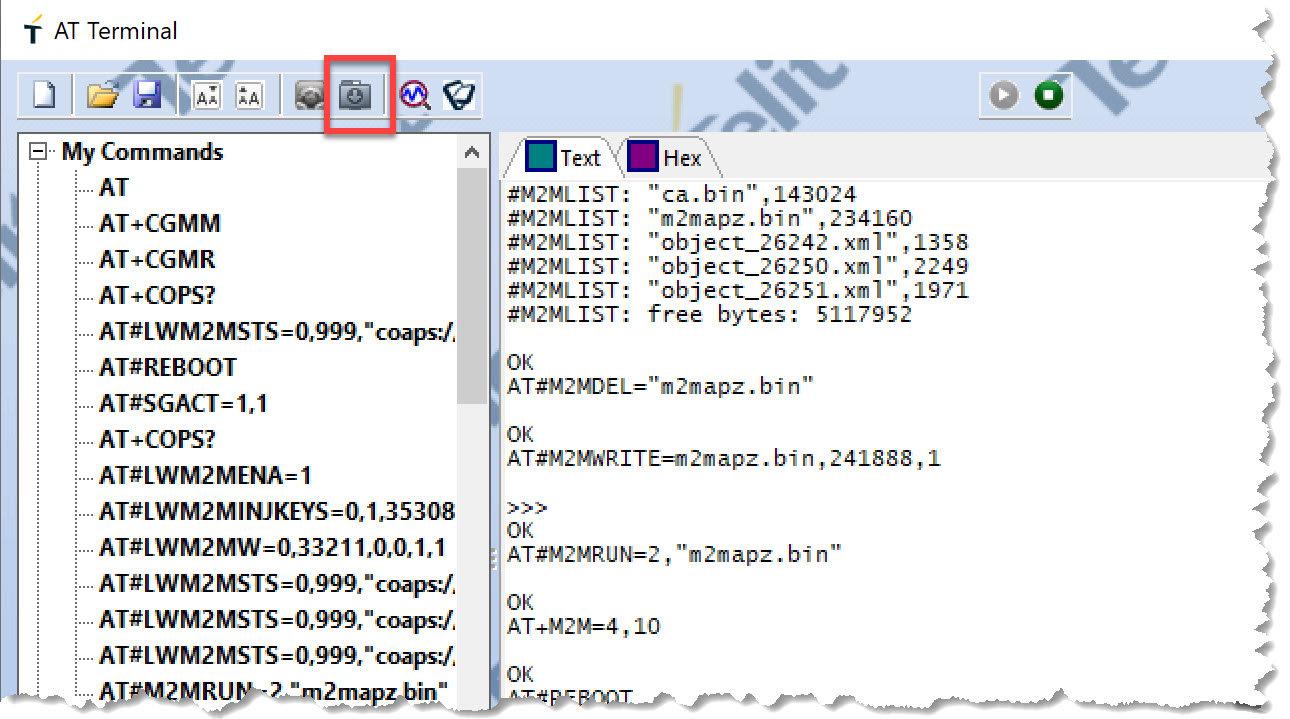
3.1. Download the main application
AT#M2MWRITE=m2mapz.bin,234160,1
>>>
Select the file you downloaded above:
3.2 Download object 26242
AT#M2MWRITE=/mod/object_26242.xml,1358
>>>
Select the file downloaded above.
3.3 Download object 26250
AT#M2MWRITE=/mod/object_26250.xml,2249
>>>
Select the file downloaded above.
3.4 Download object 26251
AT#M2MWRITE=/mod/object_26251.xml,1971
>>>
Select the file downloaded above.
3.5. Enable the application
AT#M2MRUN=2,"m2mapz.bin"
AT+M2M=4,10
AT#REBOOT
¶ 4. Configure the IoT Bridge
4.1. Login to the Tartabit IoT Bridge.
4.2. Navigate to Solution Templates.
4.3. Import the Onboard Telit Bravo template.
4.4. Enter the IMEI of your Telit module.
4.5. Enter the pre-shared key you selected above in 2.3.
4.6. Enter the connection string you retrieved in 3.4.
4.7. Check the box to "Start triggers".
4.8. Click Import
¶ 5. Verify connection
5.1. Restart your Telit module.
5.2. Verify the IoT Bridge endpoint is connected
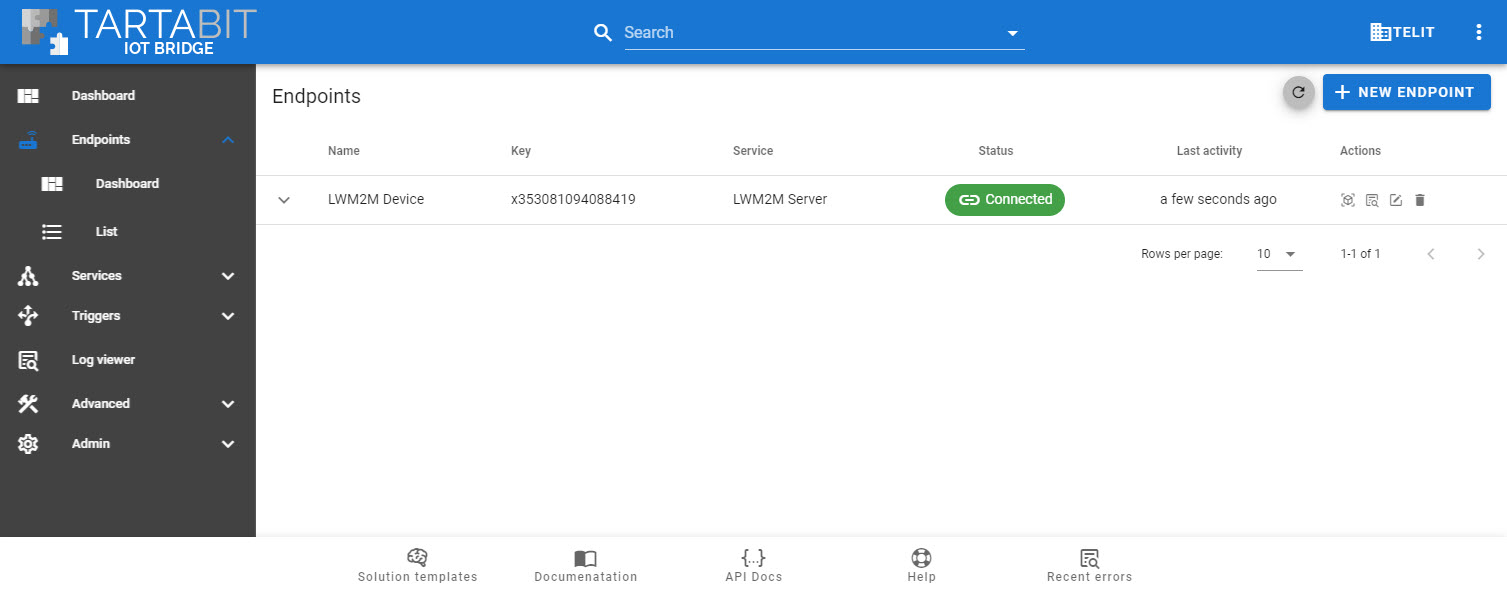
5.3. Verify the device is connected in Azure IoT Hub by using either the Azure IoT Hub Explorer or the Azure Portal.